
Camplux Water Heater Manual: A Comprehensive Guide
Today’s date is 12/04/2025 04:22:19 (). This manual offers a reliable resource for confidently operating and maintaining your Camplux water heater.
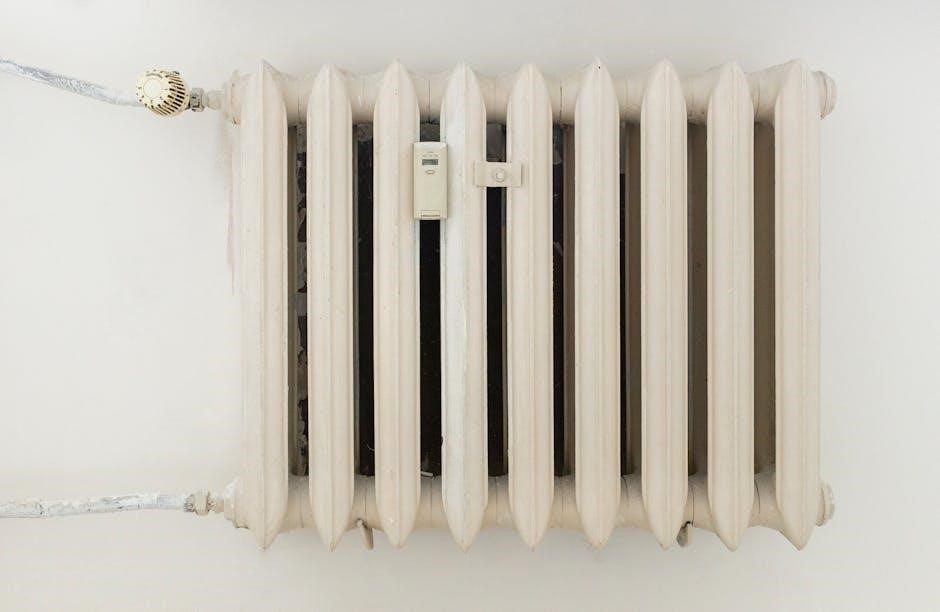
Understanding Your Camplux Water Heater
Camplux water heaters are designed to deliver efficient and reliable hot water for a variety of applications, ranging from residential homes to recreational vehicles and off-grid living. These tankless water heaters offer on-demand hot water, eliminating the standby heat loss associated with traditional tank-style heaters, resulting in significant energy savings.
Understanding the core components and functionality of your Camplux unit is crucial for safe and optimal performance. Key features include precise temperature control, advanced safety mechanisms, and user-friendly operation. This manual will guide you through each aspect, ensuring you can harness the full potential of your new appliance. A water heater is an essential appliance, providing hot water for bathing, laundry, and dishwashing, and proper understanding ensures longevity.
Camplux Water Heater Models: An Overview
Camplux offers a diverse range of tankless water heaters tailored to meet various hot water demands and installation scenarios. Models vary in terms of maximum flow rate, BTU input, and ignition systems, catering to different household sizes and water pressure conditions. Popular series include the EZ series, known for its compact design and ease of installation, and the Pro series, offering higher flow rates and advanced features.
Each model is engineered for efficiency and reliability, utilizing advanced combustion technology and safety features. Understanding the specific capabilities of your chosen model is essential for optimal performance. This overview will help you identify the key differences between models, ensuring you select the unit best suited for your needs. Proper model selection guarantees efficient hot water delivery for years to come.
Safety Precautions & Warnings
Prioritizing safety is paramount when installing and operating your Camplux water heater. Improper installation or use can lead to hazardous situations, including carbon monoxide poisoning, fire, or scalding. Always ensure adequate ventilation to prevent carbon monoxide buildup, and strictly adhere to local gas and plumbing codes.
Never attempt to modify or repair the unit yourself; contact a qualified technician for all service needs. Regularly inspect gas connections for leaks using a soap solution. Be cautious of hot surfaces during operation to avoid burns. Keep flammable materials away from the heater. Failure to follow these warnings could result in serious injury or property damage. Read all instructions carefully before use.
Initial Setup & Installation
Proper installation is crucial for optimal performance and safety. Before beginning, carefully unpack the Camplux water heater and inspect for any shipping damage. Ensure all components are present, referencing the parts list in this manual. Select a well-ventilated location, protected from the elements, for installation.
Verify that the chosen location meets all local codes and regulations. Installation should be performed by a qualified technician experienced with gas and plumbing systems. This unit requires both gas and water connections; ensure these are readily accessible. Following the pre-installation checklist and connection guidelines will guarantee a secure and efficient setup.
Pre-Installation Checklist
Before you begin the installation process, ensure you have completed the following checks: Verify the correct gas type (propane or natural gas) is available and compatible with your Camplux model. Confirm adequate gas supply pressure meets the unit’s requirements, detailed in the technical specifications.
Inspect the water supply line for proper size and material, ensuring it can handle the water flow rate. Have all necessary tools readily available, including pipe wrenches, Teflon tape, and a gas leak detector. Check local codes and obtain any required permits before proceeding. Finally, review the entire installation manual to familiarize yourself with the steps involved and safety precautions.
Connecting to Gas & Water Supplies
Gas Connection: Carefully connect the gas supply line to the heater’s gas inlet, using Teflon tape on all threaded connections to prevent leaks. Always use a gas leak detector solution to verify a secure connection after tightening. Improper gas connections can be extremely dangerous!
Water Connection: Connect the cold water inlet to your water supply line, ensuring a tight seal. Connect the hot water outlet to your desired hot water distribution system. Flush the water lines before connecting to remove any debris. Be mindful of water pressure; excessive pressure can damage the unit. Double-check all connections for leaks before operating the heater.
Operating Instructions: Basic Use
Initial Startup: After connecting gas and water, slowly turn on the gas supply valve. Ignite the burner following the lighting instructions detailed in the manual. Allow the water to run for several minutes to purge any air from the lines. Monitor the water temperature as it heats up.
Normal Operation: Once the desired temperature is reached, adjust the flow rate to achieve your preferred hot water volume. Never exceed the maximum flow rate specified in the technical specifications. Regularly check for any unusual noises or smells during operation. Ensure adequate ventilation around the unit.
Advanced Operating Features
Modulating Control: Camplux heaters often feature modulating controls, automatically adjusting the burner output to maintain a consistent water temperature, regardless of flow rate. This optimizes energy efficiency and prevents temperature fluctuations. Familiarize yourself with the control panel’s display for real-time feedback.
Digital Display: Many models include a digital display showing inlet/outlet water temperatures and error codes. Utilize this information for precise monitoring and troubleshooting. Explore the settings menu for customization options. Understanding these advanced features enhances your overall experience and ensures optimal performance of your Camplux water heater.
Temperature Control & Adjustment
Setting the Temperature: Your Camplux water heater allows precise temperature control via the control panel. Typically, you’ll find “+” and “-” buttons to adjust the desired water temperature. Start with a moderate setting, around 120°F (49°C), and gradually increase or decrease as needed for comfort and safety.
Understanding the Display: The digital display shows the current outlet water temperature. Allow a few minutes for the temperature to stabilize after adjustments. Caution: Setting excessively high temperatures can cause scalding. Always supervise children and elderly individuals. Regularly check the temperature to ensure it remains within a safe and comfortable range.
Freeze Protection Mode
Activating Freeze Protection: Camplux water heaters often feature a dedicated “Freeze Protection” mode, crucial for preventing damage in cold climates. This mode automatically activates when the internal temperature drops near freezing, typically below 39°F (4°C). Activation may involve pressing a specific button on the control panel, as indicated in your model’s specific instructions.
How it Works: When engaged, the heater periodically runs, circulating warm water through the unit to prevent pipes and internal components from freezing. Important: Freeze protection mode consumes energy, even when hot water isn’t actively being used. It’s a preventative measure, not a substitute for proper winterization. Disconnect power and water lines during extended periods of non-use in freezing conditions.
Troubleshooting Common Issues
Addressing Problems: Like any appliance, Camplux water heaters can occasionally experience issues. This section provides guidance for resolving common problems, potentially saving you time and the cost of a service call. Always prioritize safety: disconnect the power and gas supply before attempting any repairs beyond basic checks.

Initial Checks: Begin by verifying the power source, gas supply, and water connections. Ensure the unit isn’t experiencing a power outage or gas shut-off. Check for any visible leaks or damage. If problems persist, consult the specific troubleshooting sections for “No Hot Water” or “Low Water Pressure” for more detailed assistance. Remember to refer to the error code section if any codes are displayed.
No Hot Water – Possible Causes
Diagnosing the Issue: A lack of hot water can stem from several factors. First, verify the gas supply is open and the unit is receiving gas. Second, check the power source to ensure the heater is energized. A faulty igniter or thermocouple can prevent ignition, resulting in no heat. Third, inspect the flame sensor; a dirty sensor won’t detect the flame, shutting down the heater.
Further Investigation: Low gas pressure, a blocked flue, or a malfunctioning control valve can also be culprits. If the unit cycles on and off rapidly, it could indicate a thermostat issue. Always consult the error code section for specific diagnostic information. Remember safety first: if you smell gas, immediately shut off the supply and contact a qualified technician.
Low Water Pressure Problems
Identifying the Cause: Insufficient water pressure can significantly impact your Camplux water heater’s performance. First, check if the issue affects all faucets in your home, indicating a problem with the main water supply. Second, inspect the water inlet filter for blockages – sediment or debris can restrict water flow. Third, verify that the water supply valve to the heater is fully open.
Troubleshooting Steps: A partially closed valve, kinked water lines, or a pressure regulator set too low can all contribute to low pressure. If the problem is isolated to the heater, a faulty flow sensor might be the cause. Important: Ensure the water pressure falls within the heater’s specified operating range. Contact a plumber if the issue persists.
Maintenance & Cleaning
Regular maintenance is crucial for extending the lifespan and ensuring optimal performance of your Camplux water heater. Periodic cleaning prevents scale buildup and maintains efficiency. Firstly, inspect the exterior for any signs of corrosion or damage, addressing them promptly. Secondly, check all gas and water connections for leaks, tightening as needed.
Descaling should be performed annually, especially in areas with hard water. Additionally, the anode rod, a sacrificial component protecting the tank from corrosion, requires inspection and replacement every few years. Remember to always follow safety precautions when performing maintenance, including disconnecting power and water supplies. Consistent upkeep guarantees reliable hot water for years to come.
Descaling the Water Heater
Scale buildup, primarily from hard water minerals, reduces heating efficiency and can damage your Camplux water heater. Descaling involves flushing the tank to remove these deposits. First, turn off the gas supply and power to the unit. Next, connect a hose to the drain valve and direct it to a suitable drainage area.
Then, slowly open the drain valve, allowing the tank to empty. Afterward, flush the tank with fresh water several times until the water runs clear. Consider using a descaling solution specifically designed for water heaters, following the manufacturer’s instructions carefully. Finally, close the drain valve and restore gas and power. Regular descaling maintains optimal performance.
Anode Rod Inspection & Replacement
The anode rod is a sacrificial component designed to protect the tank from corrosion. Regular inspection – ideally annually – is crucial for extending the lifespan of your Camplux water heater. To inspect, turn off the gas and power, then drain a small amount of water. Locate and remove the anode rod (consult your model’s diagram).
If the rod is significantly corroded (less than 6 inches of core wire remaining), it needs replacement. A depleted anode rod means the tank itself is now vulnerable. Install a new anode rod, applying pipe thread sealant. Refill the tank and restore power and gas. Replacing the anode rod proactively prevents costly tank failures and ensures long-term reliability.
Winterizing Your Camplux Water Heater
Protecting your Camplux water heater during freezing temperatures is vital to prevent damage. Begin by completely draining the unit; shut off the water supply and open all hot water faucets. Disconnect both the water inlet and outlet pipes, allowing full drainage. For units with gas connections, shut off the gas supply at the source.
Consider blowing out the lines with compressed air to remove any remaining water. Insulate exposed pipes and the water heater itself with appropriate insulation materials. If possible, store the unit indoors or in a sheltered location. Remember to re-pressurize and restart the heater according to the initial setup instructions when temperatures rise above freezing.
Error Codes & Their Meanings

Camplux water heaters utilize error codes to diagnose potential issues, simplifying troubleshooting. Code E1 typically indicates a flame failure, suggesting a problem with the ignition system or gas supply. Code E2 signals an overheating condition, potentially caused by restricted water flow or a faulty thermostat. Code E3 often points to a low water pressure issue, requiring verification of water supply.
Code E4 may indicate a freeze risk, prompting activation of freeze protection mode. Code E5 suggests a problem with the temperature sensor. Consult the full manual for a complete list and detailed explanations of each error code. Always disconnect the power before attempting any repairs and contact Camplux support if unsure.
Frequently Asked Questions (FAQ)
Q: How often should I descale my Camplux water heater? A: Descaling frequency depends on water hardness; generally, annually is recommended. Q: Can I use my Camplux heater with well water? A: Yes, but a water filter is advisable to prevent sediment buildup. Q: What does the freeze protection mode do? A: It activates the heater periodically to prevent freezing in cold temperatures.
Q: How do I reset my Camplux water heater? A: Refer to the “Troubleshooting” section for specific reset instructions. Q: Is professional installation required? A: While DIY installation is possible, professional installation is recommended for gas connections. Q: Where can I find replacement parts? A: Visit the Camplux website or contact customer support.
Warranty Information & Registration

Camplux offers a comprehensive warranty on its water heaters, protecting against manufacturing defects. The standard warranty period is typically two years from the date of purchase for parts and a shorter period for labor, depending on the model. To activate your warranty, online registration within 30 days of purchase is crucial.
Proof of purchase, such as a receipt or invoice, is required for all warranty claims. The warranty does not cover damage caused by improper installation, misuse, or lack of maintenance. Visit the official Camplux website to register your product and review the complete warranty terms and conditions. Failure to register may affect your claim eligibility. Contact support for assistance.
Technical Specifications
Camplux water heaters boast diverse technical specifications depending on the specific model. Generally, input rates range from 40,000 to 180,000 BTU/hour, influencing heating capacity. Flow rates typically vary between 6.6 to 11 gallons per minute (GPM) at a temperature rise of 77°F (25°C).
Units operate on either propane (LP) or natural gas (NG), requiring appropriate regulator settings. Dimensions and weight differ significantly between tankless and tank-style heaters. Electrical requirements usually involve a standard 120V outlet for electronic ignition and control panels. Refer to your model’s specific data plate for precise details regarding gas consumption, voltage, and overall performance characteristics.

Contacting Camplux Support
For dedicated assistance with your Camplux water heater, several support channels are readily available. You can reach their customer service team via phone at 1-800-521-0599 during business hours, Monday through Friday. Alternatively, email support is accessible at support@camplux.com, ensuring a detailed response to your inquiries.
Camplux also maintains a comprehensive online support portal at camplux.com/support, featuring FAQs, troubleshooting guides, and downloadable manuals. Their website offers live chat functionality for immediate assistance. Social media channels, including Facebook and YouTube, provide additional resources and community support. When contacting support, please have your model number and purchase date readily available for efficient service.